Orange oak stain, every room, every nail hole nobody ever filled. What the tutorials skip when you’re starting from bare stained wood.
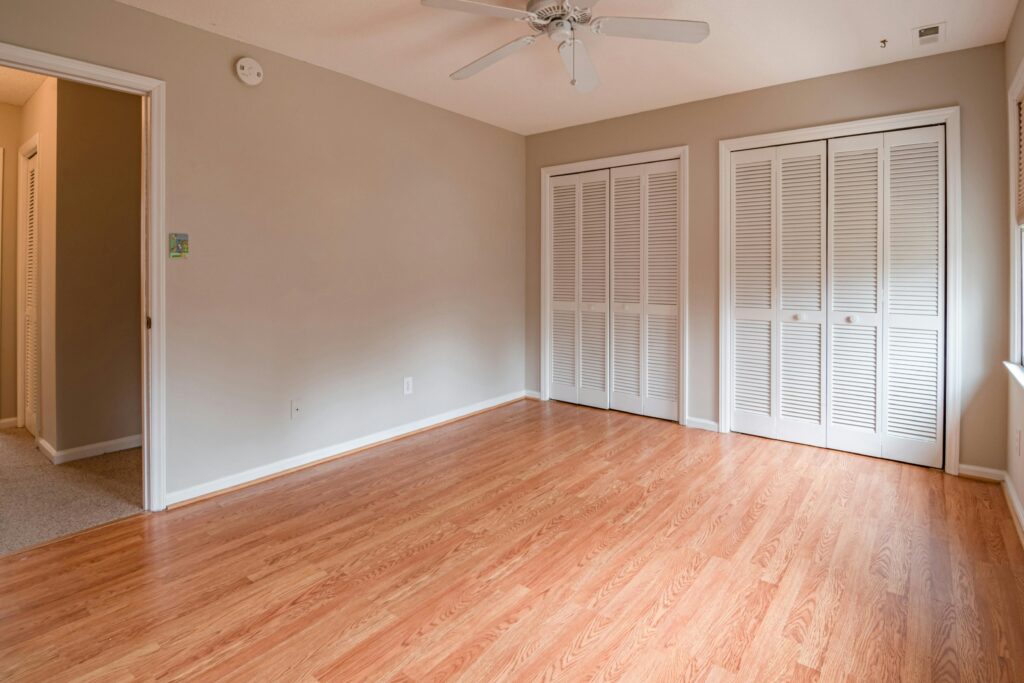
Our baseboards were original to the house — the same 1989 builder oak as the stair spindles, the same orange stain that somehow survived three decades without anyone doing anything about it. When we finally decided to paint them, we painted all of them. Every room. Every bathroom. The whole house. The interior doors were on the same list — that project stretched five years — but the baseboards are a different kind of work.
It took a long time. It was harder than I expected in ways that weren’t obvious going in. Here’s what I’d tell someone starting this project.
Stained baseboards are a different problem than painted ones
Most baseboard painting guides assume you’re refreshing paint that’s already there. If your baseboards were painted before, someone has already done the filling and caulking work. The nail holes are covered. The gaps between the trim and the wall are sealed.
Stained baseboards have none of that. The previous owners stained these and left them alone. Every nail hole was open. Every gap between boards, between the trim and the wall, between the trim and the flooring — all of it exposed. Nobody fills gaps on stained wood because the stain and the gap read as part of the natural look. Paint is less forgiving.
This meant I had more prep work than a typical refresh, and I had to do it in the right order.
The sequence matters: prime first, then fill
Here’s what I’d do differently if I started over: prime everything before you fill the nail holes.
I did some filling before priming and some after, and the after-priming pass was dramatically easier. Primer — especially a high-hide primer over dark stain — makes every nail hole, dent and gap visible in a way that raw wood or previous paint doesn’t. The primer catches light differently. You’ll find holes you didn’t know were there.
My sequence, which I’d repeat:
- Degloss the existing stain
- Sand with a sanding block — hit rough edges, dents, anything raised
- Prime with a high-hide primer (Benjamin Moore Waterborne Alkyd — same as I used on the stairs)
- Get on the floor with spackling and caulk and fix everything you can now see
- Light sand again after the filler dries
- Two coats of paint
The degloss step matters. Stain has a sheen that primer won’t stick to reliably without it. Don’t skip it.
The filling and caulking pass is the real work
This is what takes the time. After priming, I crawled around on the floor through every room with two things: spackling for nail holes and dents, and paintable caulk for gaps.
There were three kinds of gaps:
- Between two pieces of trim meeting at a corner or joint
- Between the trim and the wall above it
- Between the trim and the flooring below it
All of them need caulk. The gap between trim and wall is the one people sometimes skip, but it’s visible when you’re close to the wall or when you’re sitting on the floor and it’s the first thing that makes a paint job look unfinished.
Smooth the caulk with a wet finger or tool. Let everything dry fully before painting.
Painting technique for a smooth finish
I used a 1.5-inch brush throughout. The approach that worked:
Load the brush well — more paint than you think — and work it into the wood first. Then before it starts to set, make quick side-to-side strokes across the face of the baseboard to smooth everything out.
On baseboards, side-to-side strokes beat top-to-bottom. The flat face of the board is wider than it is tall, and horizontal strokes even out the paint across that surface in a way that vertical strokes don’t.
White trim paint in an open room is unforgiving. Every lap mark, every brush stroke that didn’t get smoothed, every bit of lint in the wet paint — it all shows. Work in manageable sections and don’t let the paint start to set before you smooth it.
Two coats. The first coat will look fine. The second coat is what makes it look like you paid someone.
The carpet surprise nobody warned me about
We painted the baseboards before having new carpet installed. This seemed smart at the time — the old carpet was being ripped out anyway, so we could work freely without worrying about drips.
What we didn’t account for: new carpet isn’t always the same depth as the old carpet. In a few places around the house, the new carpet sat slightly lower than the old, exposing a strip at the bottom of the baseboards that had been covered for decades. That strip still had the original orange stain on it.
The fix wasn’t hard, but it required a tool I was glad I had: a wide plastic paint shield with a metal edge at the bottom. You slide it under the baseboard, paint the exposed strip, and the metal edge keeps paint off the carpet. Work slowly, check the shield every few strokes to make sure nothing is bleeding underneath, and have a damp rag nearby.
If you’re getting new carpet after painting, plan for this. Paint lower than you think you need to. It’s easier than touching up against finished carpet.
The payoff
Every room reads differently with white trim. The orange oak made every wall color fight against it. White baseboards disappear and let the room be the room.
It’s a big project if you’re doing the whole house. Do a room at a time if that’s what it takes. The technique is the same whether you’re doing one room or ten — the sequence just repeats.
Products used: Benjamin Moore Waterborne Alkyd primer, Sherwin-Williams Urethane Trim Enamel, paintable caulk, spackling, 1.5-inch trim brush, paint shield with metal edge.
Step by Step
Converting stained wood baseboards to painted — the full sequence from prep through final coat.
- Degloss the existing stain
Apply liquid deglosser to all surfaces. Stain has a sheen that primer won’t bond to reliably without this step. Let it dry before moving on.
- Sand with a sanding block
Focus on rough edges, dents, and raised areas. You’re knocking down anything that will show through paint — not trying to remove the stain entirely.
- Apply high-hide primer
One full coat over all surfaces. Let it reveal the nail holes, dents, and gaps — you’ll find problems that weren’t visible before priming.
- Fill nail holes and gaps
Spackling for holes and dents in the wood; paintable caulk for gaps between trim pieces, between trim and wall, and between trim and flooring. Let both dry completely, then sand lightly.
- Apply two coats of trim enamel
Use a 1.5-inch brush; load it well and work the paint into the wood, then smooth with quick side-to-side strokes before it sets. The second coat is what gives you the finished result.
Common Questions
Yes, especially if the baseboards were previously stained. High-hide primer over dark stain blocks the color and also makes every nail hole, dent and gap visible in a way that’s hard to see on raw or stained wood. Prime first, then fill what you can see — you’ll find problems you didn’t know were there.
Use spackling for nail holes and dents — anything in the wood itself. Use paintable caulk for gaps: between pieces of trim, between trim and the wall above, and between trim and flooring below. Both need to dry fully before you paint. Don’t use caulk to fill nail holes — it shrinks and cracks as it dries.
Two coats on top of primer gives a professional-looking finish. The first coat looks decent but you can still see variations and brush marks. The second coat evens everything out. White trim paint is unforgiving — every lap mark and bit of lint shows — so two full coats is not optional.
Use a wide plastic paint shield with a metal edge. Slide it under the baseboard along the floor, paint the bottom strip, and the metal edge keeps paint off the carpet. Check the shield every few strokes to make sure nothing is bleeding underneath. Have a damp rag nearby for quick cleanups before anything dries.