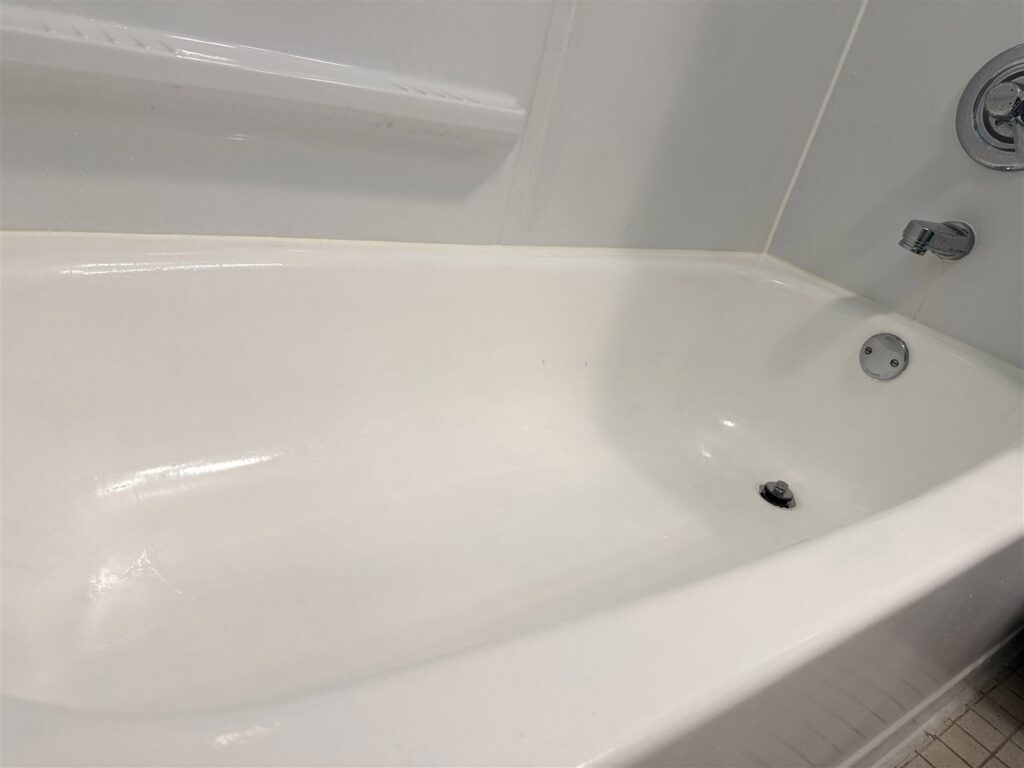
The tub wasn’t falling apart. It had a worn spot directly under the spout — the finish had worn through from years of water contact — and the rest of the surface was dull and showing its age. Not terrible. But also not good. Replacing a tub is expensive, and ours was otherwise fine.
I ended up using two kits: a touch-up kit first to address the worn spot, then the full refinishing kit on the whole tub. Total cost was around $110. Most reviews of this kit are written right after finishing. Here’s what it looks like six months later.
The Touch-Up Kit: Start Here If You Have a Localized Worn Spot
The Rustoleum Tub & Tile Touch-Up Kit is a two-bottle system — mix part A and part B, apply in thin coats, sand lightly between each. I put on three coats to build up the worn area to something close to the surrounding surface level.
I wasn’t trying to make it look perfect at this stage. The full refinishing kit was coming next. The goal was to level the worn spot so the refinishing coat had something more consistent to go over. For that, it worked. Prep was simpler than the refinishing process — sand the rough edges, clean the surface, apply. About an hour of actual work for maybe $20.
The Refinishing Kit Prep: This Is Where Most of the Work Happens
The full kit is a project. Before you apply anything, the prep has to be thorough and complete.
I sanded. Scrubbed with foaming tub cleaner, CLR, Barkeeper’s Friend, and a bleach-and-water solution — every cleaner I had. The goal is a surface that’s completely clean and dull. No soap film, no mineral deposits, no sheen. Then I removed all the caulk from the tub edges, base and walls, and wiped it all down.
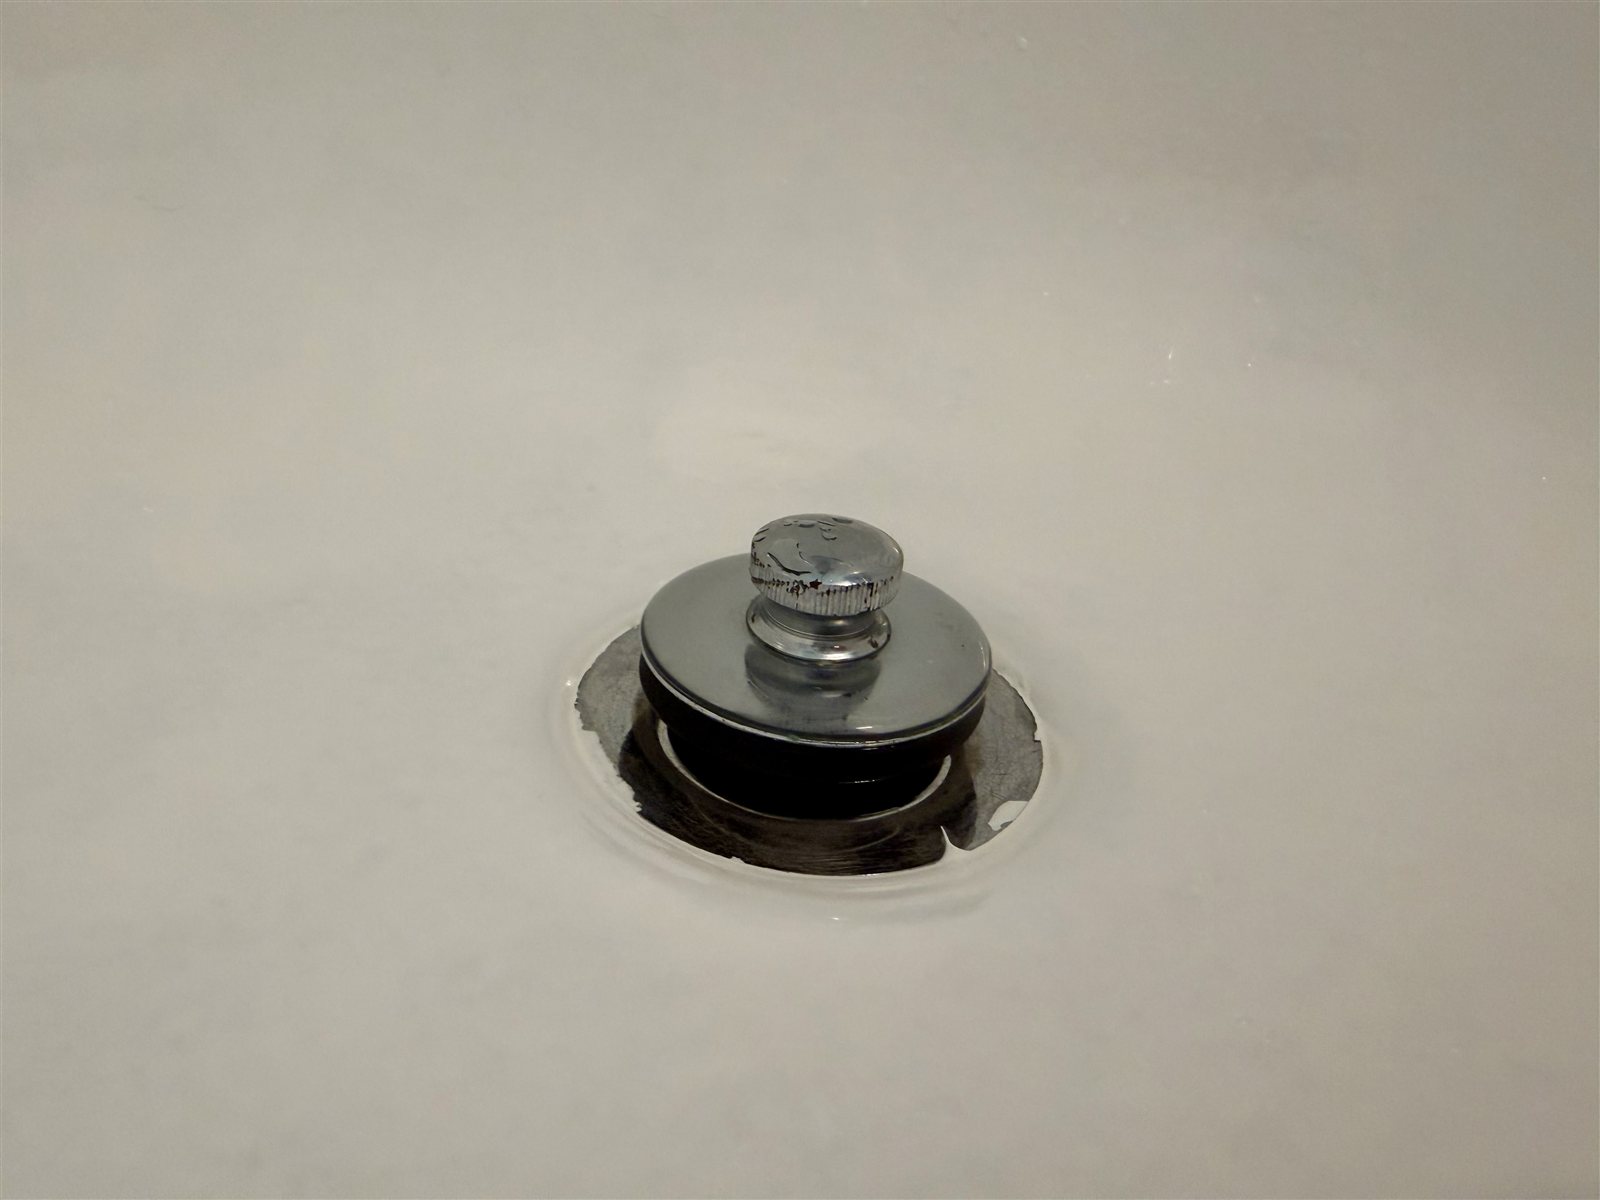
One thing I couldn’t do: the drain wouldn’t come out. The instructions say that you’re supposed to remove it entirely. Mine wouldn’t budge, so I taped carefully around the edges and worked around it. When I pulled the tape after the final coat, paint had wicked under the edge and dried on the chrome. There’s no fixing that after the fact. If you can get the drain out, get it out.
Let everything dry for a couple of hours before you start — I used a tack cloth to pull final dust off the surface before opening the refinishing kit.
The Fumes and the Pour Panic
The packaging mentions ventilation. The actual experience is more intense than that word suggests.
I had the bathroom exhaust fan running, every window open, and a box fan positioned to push air out of the nearest window. The fumes were still heavy enough that I made sure no one else was home while I worked. The odor lingers for hours after you’re done. If you have kids, pets, or anyone with respiratory issues in the house, plan the whole day around this.
The application itself starts with a moment that feels like something went wrong. You pour the mixture across the tub and it pools at the bottom. It looks like there’s no chance it’ll cover the sides and back wall. Once you start rolling, it levels out — but the first few minutes are unsettling if you’re not ready for it.
The roller is better than the brush for most of the tub. It helps the coating lay smooth and even. Use the brush only along edges and in tight spots.
I needed three coats to cover most of the original surface and get a consistent finish — more than a single kit provides. I had to buy a second kit, which brought my refinishing cost to around $90, plus supplies, plus the $20 touch-up kit. About $110 total.
The instructions call for a three-day cure before the surface sees water. Plan your bathroom access around that before you start — this isn’t something you can finish on a Sunday and shower in on Monday.
Right After: Better Than Expected
Once I recaulked — fighting silicone caulk again, which is its own ordeal — the result was genuinely good. Not new-tub good. But the kind of result where you look at the finished surface and think it was worth doing. It’s especially impressive from a distance.
The coating was smooth, white, and consistent. The worn spot under the spout was gone. A tub that had looked obviously tired looked pulled-together.
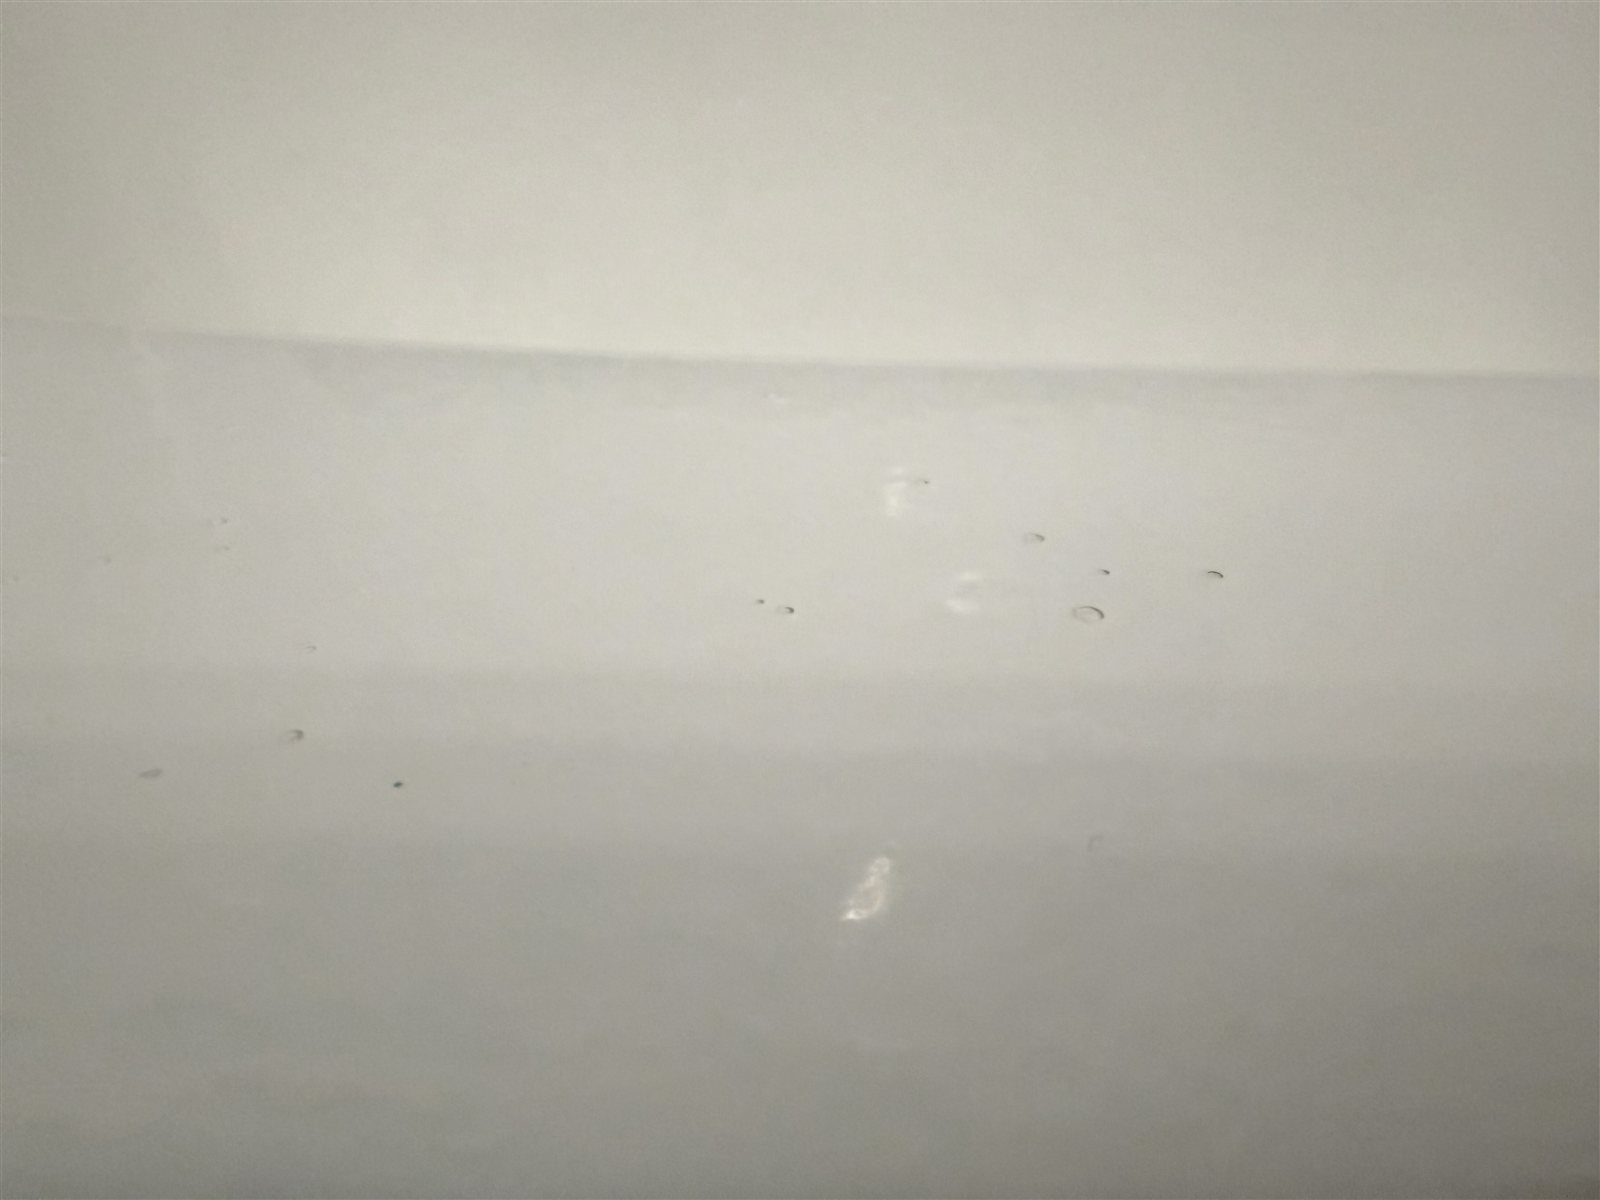
One cosmetic issue that didn’t resolve: along the top edges, there was some bubbling during application — possibly from the roller at that angle, possibly from the coating getting thin at the top. Once the surface fully cured, those bubbles left tiny craters. I sanded them lightly with high-grit sandpaper, but didn’t want to go through the coating, so they’re still there if you look close or run your hand across.
Six Months Later: Where It Actually Stands
The coating is holding. But it’s not what it was right after finishing.
The surface has dulled, especially along the bottom where water sits and soap residue accumulates. The bubbling craters along the top edge collect grime in a way a smooth surface wouldn’t — they’re not a structural problem, but they take more gentle scrubbing to keep clean without damaging the finish. The drain cap still has the stained chrome edges from when the tape pulled. That hasn’t changed.
The most significant thing: a dropped shampoo bottle from about shoulder height left a dent in the coating near the drain. Not a crack, not peeling — just a soft impression. The coating held together, but it’s not hard enough to take impact without showing it.
If I had to put a number on it: it looks about 70% as good as it did right after finishing, with regular cleaning. That’s not nothing, given where it started.
Would I Do It Again?
If the tub needed help and I couldn’t replace it — yes. A $110 kit versus the cost of a new tub and installation is an easy comparison.
I’d hesitate in a bathroom with heavy kid use. The surface is more fragile than a factory finish, and dropped-shampoo-bottle dents would add up in that kind of environment.
What I’d do differently: confirm the drain will come out before buying anything. If it won’t, accept the chrome-edge compromise before you start, not after.
It worked, it still looks decent, and the fumes and the prep are real. Go in knowing all of that and it delivers on what it promises.
Products used: Rustoleum Tub & Tile Touch-Up Kit, Rustoleum Tub & Tile Refinishing Kit (two packs), foaming tub cleaner, CLR, Barkeeper’s Friend, bleach, tack cloth, foam roller, silicone caulk.
Step by Step
How to refinish a bathtub using the Rustoleum Tub and Tile Refinishing Kit.
- Clean and prep the surface
Sand the entire tub, then scrub thoroughly with CLR, foaming tub cleaner, and a bleach-and-water solution. Remove all existing caulk from the edges. The surface needs to be completely clean, dull, and dry before any coating goes on.
- Level worn spots with the touch-up kit
If the finish has worn through anywhere, apply the Rustoleum Touch-Up Kit first. Mix parts A and B, apply three thin coats, sanding lightly between each. This brings worn areas level with the surrounding surface before the refinishing coat goes on.
- Remove the drain or mask it carefully
The instructions call for removing the drain entirely. If it won’t come out, tape carefully around the edges — but accept that paint may wick under and stain the chrome. That won’t come off after the fact.
- Pour, roll, and apply three coats
Pour the mixture into the tub — it pools at the bottom and looks like it won’t cover, but it will once you start rolling. Apply in thin coats using a foam roller; use a brush only along edges and in tight spots. Plan for three coats, which means two kits.
- Cure for three days, then recaulk
No water contact for at least 72 hours. Once fully cured, recaulk the tub edges with silicone caulk before putting the tub back into use.
Common Questions
Plan for two. Most full-size tubs need three coats for even coverage, and a single kit runs out before you get there. Buying two upfront avoids a mid-project run to the store when you’re in the middle of a timed application.
The instructions say yes. If yours won’t budge, tape carefully around the edges — but paint will likely wick under and dry on the chrome. There’s no removing it after the coating has cured, so decide before you start whether you can live with that.
Three days. The kit requires a full 72-hour cure before the surface sees water. This isn’t something you can finish on a Sunday and shower in on Monday — plan your bathroom access before you open the first can.
Six months in, the coating is still intact but has dulled, especially at the bottom where water and soap residue sit. The surface is softer than a factory finish — a dropped bottle from shoulder height will dent it. With careful use, expect it to look reasonable for a few years, not indefinitely.