Replacing a dryer vent duct costs less than $100 in supplies and generally takes 2–3 hours vs. as much as several hundred dollars for professional installation. I needed basic tools, new metal ductwork and clamps for the upgrade from foil to metal ducts.
Why the Foil Duct Had to Go
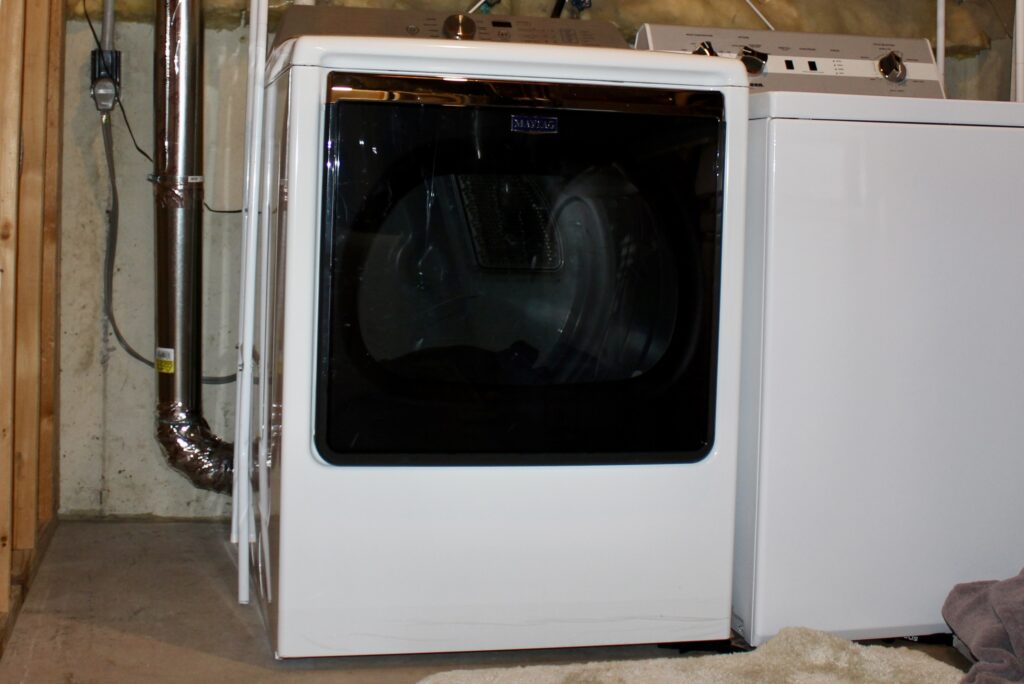
The flexible foil duct that came with my dryer looked fine. It wasn’t. Flexible foil ducts sag, collect lint in the bends, and restrict airflow more than rigid metal — and they’re a fire hazard. Most local codes no longer permit them in new construction. I’d been running mine for years before I understood what it was.
The warning signs that finally pushed me to act: clothes taking two full cycles to dry, the dryer running hot to the touch on the outside, and visible lint accumulating around the exterior vent cap. All three of those are signs worth knowing by name — the dryer is one of the easier ones to diagnose once you know what to look for.
What You Actually Need
Rigid aluminum duct in 4-inch diameter is the right material. Semi-rigid aluminum flexible duct is acceptable for short transition sections — the few inches between the dryer and the wall — but the main run should be rigid. Avoid plastic flexible duct entirely.
You’ll also need aluminum foil tape (not regular duct tape, which fails with heat) and adjustable clamps for the connections. A straightforward run is a couple of duct sections, a few elbows, and an exterior vent cap if yours is damaged or undersized.
The Installation
Pull the dryer away from the wall and disconnect the old duct — usually just a clamp or two. Clean any lint buildup from the dryer’s exhaust port before installing the new duct.
Measure your run carefully before cutting. Plan your elbow locations so the duct takes the most direct path to the exterior. Every bend costs you airflow — fewer bends means better performance. The maximum total equivalent length for most dryers is 25 feet, reduced by 5 feet for every 90-degree elbow.
Connect sections with the crimped end pointing away from the dryer (in the direction of airflow), secure each joint with aluminum foil tape, and clamp the connection at the dryer. Check the exterior vent cap — it should open freely when the dryer runs and close fully when it doesn’t, blocking pests and backdrafts.
Push the dryer back, run a cycle, and check the exterior vent for strong, consistent airflow. If clothes that used to take two cycles dry normally on one, the duct was your problem.
What I’d Do Differently
I waited too long. The signs were there — slow drying, hot exterior, lint at the vent cap — and I assumed it was the dryer aging. It was the duct. A $60 fix I put off for two years of double-cycling laundry.
I’d also replace the exterior vent cap at the same time regardless of how it looks. The internal flap on older caps sticks, warps, and stops sealing properly. A new cap with a quality damper is $15 and worth it while you already have everything apart.
Products used: 4-inch rigid aluminum duct sections, aluminum adjustable elbows, aluminum foil tape, adjustable clamps, exterior dryer vent cap.
Step by Step
Replacing a flexible foil dryer duct with rigid aluminum ductwork.
- Disconnect and remove the old duct
Pull the dryer away from the wall and release the clamps. Remove the old duct and clean any lint from the dryer’s exhaust port before installing the new duct.
- Plan the new duct run
Measure the route and plan elbow locations for the most direct path to the exterior. Maximum total equivalent length is 25 feet; subtract 5 feet for each 90-degree elbow. Fewer bends means better airflow.
- Cut and connect rigid duct sections
Install with the crimped end pointing away from the dryer — in the direction of airflow. Seal each joint with aluminum foil tape (not regular duct tape, which fails with heat) and add clamps at the dryer connection.
- Check and replace the exterior vent cap
The damper should open freely when the dryer runs and close fully when it doesn’t. Replace if the flap is stiff, warped, or not sealing — under $20 and worth doing while everything is apart.
- Push the dryer back and test
Run a full cycle and check the exterior vent for strong, consistent airflow. Clothes drying in one cycle instead of two confirms the duct was the problem.
Common Questions
Rigid aluminum duct is the best choice for the main run. Semi-rigid aluminum flexible duct is acceptable for short transition sections (the few inches between the dryer and the wall). Flexible foil duct is a fire hazard — it sags, traps lint in the bends, and is no longer allowed in new construction in most areas. Flexible plastic duct is worse than foil.
Three clear signs: clothes taking two or more cycles to dry, the dryer exterior running hot to the touch, and visible lint accumulation at the exterior vent cap. Any one of these is a warning. All three together means the duct is failing and the dryer is working harder than it should — which shortens its life and increases fire risk.
Yes. The job requires disconnecting the dryer, removing the old duct, planning your run to minimize elbows, cutting and connecting rigid metal sections with aluminum foil tape and clamps, and checking the exterior vent cap. Budget 2–3 hours for a straightforward run. The main skill is measuring carefully before cutting.
At minimum once a year, or more often with heavy laundry use. Signs it needs cleaning before then: longer drying times, dryer exterior warm to the touch, or lint visible at the exterior vent cap. A dryer vent cleaning kit with flexible rods runs about $30 and takes less than an hour.
No. Regular duct tape fails with heat — the adhesive breaks down, the tape pulls away, and the joint opens up. Use aluminum foil tape instead, which is specifically rated for high-temperature applications. It’s usually silver and sold near the duct supplies, not in the tape aisle. Adjustable clamps at the dryer connection are the other piece — tape alone isn’t enough at the dryer end.